Saturday, December 15, 2012

Ms. Kinney's White Trash

Before winter break, after my students have handed in their final projects and taken their final exams, I bestow upon them the ever coveted White Trash. In fact, this year I'm giving them the address of this blog so they can make it themselves.

It starts with your favorite cereals and salty snacks. My favs are Crispix, Rice Chex, Coco Roos, pretzel sticks, Cheezit crackers, Mini Ritz Bits sandwiches with peanut butter or honey roasted peanuts. One box/bag of each...mix 'em up and spread them out on a foil-covered surface.

Put a big heat-proof bowl over a pot of simmering water (called a double boiler)  But don't let the water boil! Now with a heavy knife, chop up a block of Almond Bark. Almond Bark is NOT white chocolate. You can buy it in the baking section of most grocery stores. It comes in a big segmented chunk that is too clunky to melt efficiently so you'll need those chopped, small pieces in the top of that double boiler if you value your time. Find a large ladle for stirring the melting bark--you'll also need it to do the dipping later.
I use a big stainless steel bowl over a deep pasta pot--notice the bark has plenty of room here. You want to keep it clear of any steam or drops of water! If water touches the bark at this stage, it will get all gummy and weird. That's called seizing up and if it happens you might as well just dump it and start over.
When the bark is smoooooth and ever so melty, ladle it over the cereal mix on the foil. Don't worry too much about big glops but you should try to spread it around evenly.

Use your hands to mix the melted bark and cereal stuff while the bark is still warm. It's very messy and stuff falls on the floor but totally worth the trouble.
Voila! White Trash! It doesn't take long to firm up and "dry." Break it up and place in plastic bags or air-tight containers. It freezes well and, even when left out for snacking, stays fresh tasting for a long time.
Merry Christmas and Happy First Semester's End to my fabulous Art students! Love you guys!  --Ms. K


Sunday, December 9, 2012

Toffee

Homemade Toffee!

Nothing says Christmas like the smell of candy making in the kitchen! This toffee recipe is a bit time consuming but soooooo worth it! Over the years, I've given pounds and pounds away to family, neighbors and friends with glowing reviews. Here's the recipe:

 Jan's Toffee
1 C. butter
1 1/4 C. packed, light brown sugar
3 TBS water
1 TBS corn syrup
pinch of salt


1 C. toasted, chopped pecans and 1 C. chocolate chips (optional)
 
You'll need a large, heavy sauce pan--cast iron is great. In these pics, I had to use my Dutch oven as it was a holiday batch and the recipe was quadrupled. 
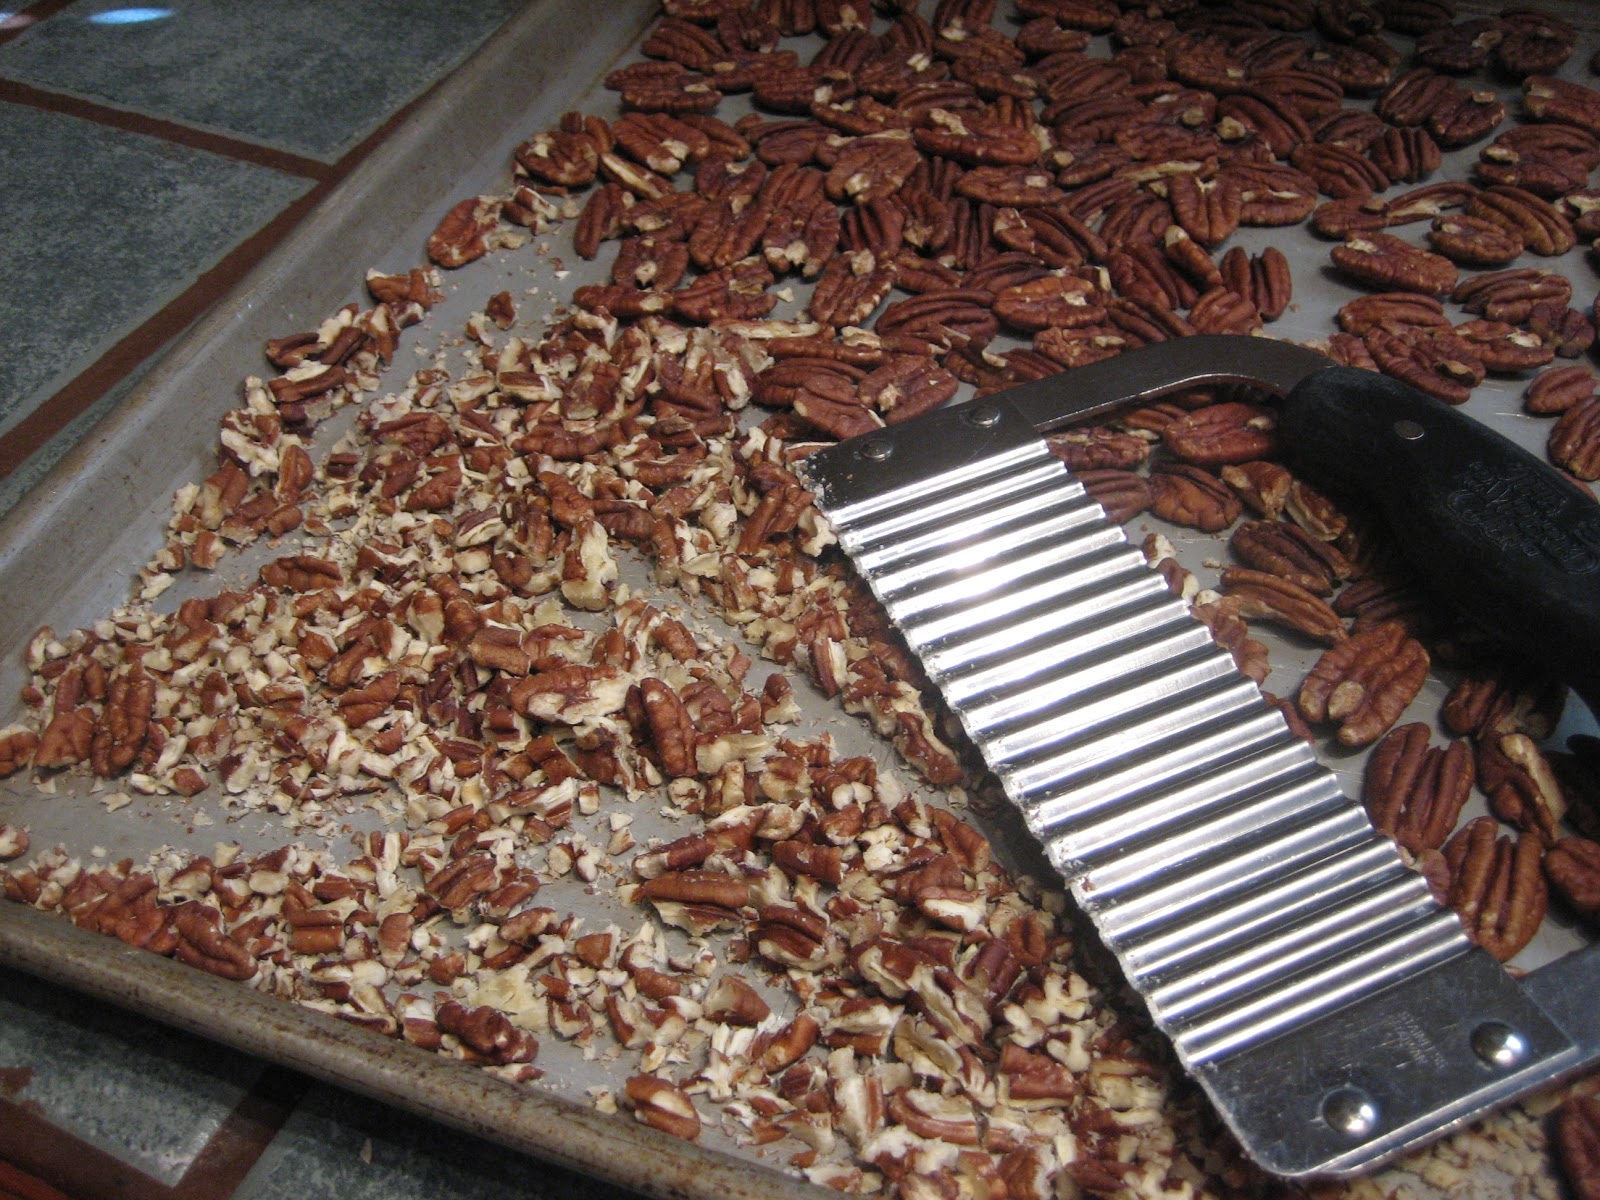
If you do the nutty variety, toast your pecans in a 300 degree oven for about 8 minutes. Watch them closely so they don't burn! Chop them up and spread them on a heat-resistant surface covered in  Pammed foil. 


Melt the butter over medium-high heat and add the rest of the ingredients minus nuts and chocolate chips.

Get about 5 teaspoons from your silverware drawer and a heat proof, 2 cup container of cold water and set it beside your stove top. You'll need these later...
Stir like a crazy person (not too fast, just very committed) constantly making sure to scrape the bottom as you go. A wooden spoon works well here. At first it will look like the butter will never homogenize with the sugar, but be patient. In about 30-40 minutes it will look like the pic below.
This is where it gets a bit dangerous and tricky. Dangerous because the toffee is like lava--avoid getting it on your skin! Tricky because it's time to start testing the "done-ness" for the soft crack stage. Now for the teaspoons and water...
This is the old fashioned method of candy making--when the candy lava is dipped out of the pot and drizzled into cold water, it stiffens. At first, it may just be a blob in the bottom. Keep cooking and stirring. Test again. This time, it's like soft caramel. Yummy, but still not done. Change out the water but don't take too long because you need to keep stirring! Finally, you'll test it and the sugary squiggles will break with a soft crack--hence the name. You're ready to pour onto your Pammed foil.


Take the toffee off of the heat.I use a large ladle and carefully dip and pour over the pecans. 

This batch was half with nuts/chocolate and half without. The chocolate chips are sprinkled over the hot toffee immediately after pouring it onto the foil. The heat of the mixture is plenty hot enough to melt the chocolate. Just take a spatula and spread it evenly over the candy's surface.


When cool, break into pieces and store in plastic bags or air tight containers. It freezes well but your chocolate will "bloom," that is, it will appear a bit chalky on the surface. This condition does not effect the taste at all, and I've never had any complaints!

Have a happy holiday season and watch out! This toffee is totally addictive!


Monday, November 5, 2012

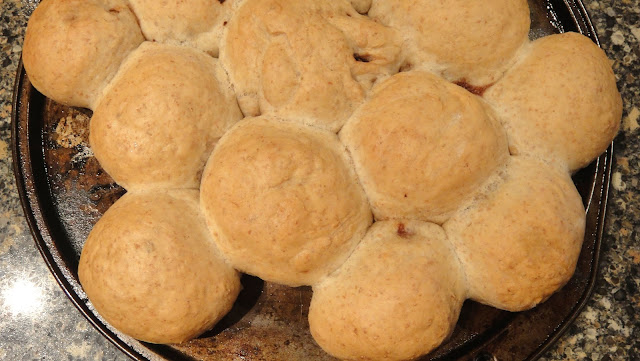
Kraut Broca

It's chilly (or, at least, chillier), your family seems to be getting hungrier, and the soup recipes you've mastered suddenly seem like they're not quite enough... what to do? Go ahead and make that cream-of-mushroom, that butternut squash, or that tomato soup, and then add a batch of these to round everything out.

Courtney's Great-Grandmother's Kraut Broca, with a Twist
Makes around 24 rolls, heavily dependent on how big or small you make 'em

1 batch of your favorite bread dough 
(equivalent amount to one loaf of bread- 
our go-to recipe comes from this book and it never does us wrong)

For filling:
1 small head of cabbage, cut into thin ribbons 
(we used purple this time, but standard green is the norm)
1 lb sausage (meat or veggie- today we used veggie)
1 large sweet yellow onion, cut into thin half-circles
2 TBS olive oil
1 TBS soy sauce
~1/2 tsp freshly cracked black pepper
pinch of nutmeg for the sake of the cabbage

For the twist:
2-3 thick-cut slices of cheese, cut into chunks (we used Swiss today)

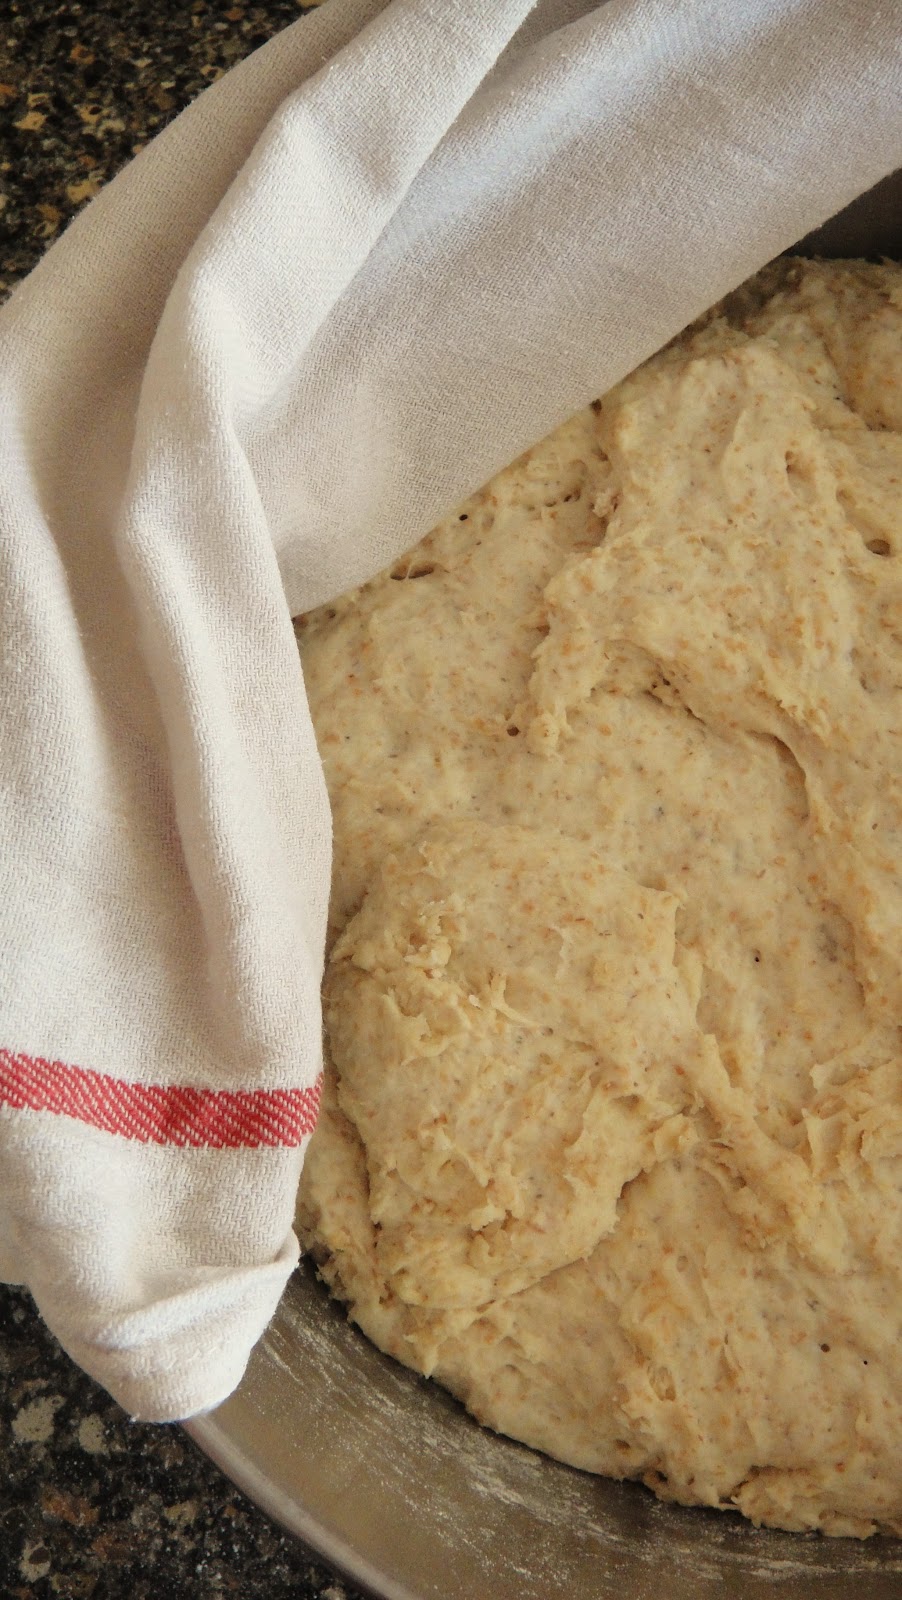
Make and proof your bread dough. Preheat oven to 350 degrees.

Slice onions and cabbage into thin slices, and toss into deep non-stick pot with sausage, olive oil, and spices.
Saute until cabbage is tender and sausage is browned, ~8 minutes.

Cut cheese into chunks while cabbage filling cools slightly. Working with lightly floured hands,
divide dough into 18-24 equally-sized balls. 

One by one, flatten a dough ball, place ~ 2 TBS of cabbage filling
in the center, top with chunk of cheese, and crimp edges of dough closed
around filling and cheese.

Dough should completely encase filling and cheese. Place finished kraut broca seam side down on tray sprayed with
non-stick spray or covered in parchment paper. Continue flattening, filling, and closing remaining dough balls.

Bake completed kraut broca for 30-40 minutes on rack placed in the lower half of your oven until golden brown.


The original recipe from my Great Grandmother does not call for cheese. However, I find the extra fat and richness a great compliment to the cabbage and bread. We have also tried this recipe with chorizo sausage and cheddar cheese with great results.

Enjoy!

Sunday, October 28, 2012

MMMMMMMMMaple Meatloaf


Maple Meatloaf, cream cheese mashed potatoes and steamed broccoli--YUM!

AHHHHH! This weather is just so invigorating! It makes me want to get into the kitchen and make all of those hearty comfort foods I grew up eating, like meatloaf and mashed potatoes. You should smell my house right now! There's a chill breeze out of the north wafting through the place. The savory scent of maple meatloaf mixed with that clean Yankee air--you just can't beat it. I know everyone has their own recipe for meatloaf; I hope you enjoy my take on it (especially with your windows open!)

Jan's Maple Meatloaf

1 lb. Jimmy Dean's Maple Pork Sausage
1 lb. ground beef
3/4 C. lowfat buttermilk
2 large eggs
1/4 loaf of French bread, torn up
1 small onion, chopped
1 small red bell pepper, chopped
1 rib celery, chopped
1/2 C. quick oats
1/4 C. each of Italian salad dressing and ketchup, plus extra ketchup for loaf coat
3/4 C. shredded sharp cheddar cheese
1 TBS. dried oregano
1 tsp. garlic powder
1 tsp. ground fennel seed
salt/pepper to taste

This is leftover garlic bread from a couple of nights ago, any stale-ish bread will do

Preheat your oven to 400 degrees. In a large mixing bowl, beat the eggs and add the buttermilk. Tear up the French bread and let it soak in the egg/buttermilk while you chop the veggies. When the bread is soft, add the Italian dressing, ketchup, cheese and quick oats. Add seasonings. Mix thoroughly. Plop veggies, ground beef and sausage into the mix and use your hands to squish it all together making sure there are no isolated pockets of any one ingredient. Form the meat mixture into a loaf and slather the surface with extra ketchup. Bake for the first 15 minutes at 400 degrees and then reduce to 350 degrees for 45 minutes.


I like to bake my loaf on a rack in a roasting pan with a little foil underneath for support. This allows the fat to run off and the ketchup coat to caramelized. Pam everything if you want to make clean up easier. If you don't want the fat drippings to smoke up your kitchen, add a couple of cups of water to the roasting pan...or you can do the traditional bread loaf pan baking method, your choice. Happy Autumn, Eat Hearty!


Monday, October 1, 2012

Stuffed Acorn Squash

Oh Autumn, my most favorite season! I love the weather, I love the harvest, I love the energy, the colors, and the holidays that accompany it!

But best of all, I love all the seasonal foods that one can't help but associate with it... especially pumpkins and squash!

To kick off the first day of Fall at my house, we made stuffed acorn squash. In our local grocery store, acorn squash was the first to appear for the season, and their colors were pretty to boot, so we grabbed 'em up. If there are some at your local market, get a few for yourself, and try this!

Courtney's Stuffed Acorn Squash
Makes 2 servings for every acorn squash; 
this recipe is for a family of 4


2 large acorn squash (heavy for their size), cut in half from stem to end, seeds scooped out*
Pinch of salt
non-stick cooking spray
water

For the stuffing:
1/2 lb ground sausage (we used a breakfast sausage)
1/2 C coarse bread crumbs
1/4 C almond meal
2 eggs
Handful of celery leaves (or one rib of celery, minced)
1/4 C mayo (we used olive oil mayo)
1 tsp dry rubbed sage
1 tsp onion powder
1/2 tsp garlic powder
1/2 tsp ground cumin
1/2 tsp dried thyme
salt & pepper to taste

Preheat oven to 400 degrees and line a rimmed baking sheet with aluminum foil (optional, but cleanup will be way easier!). Spray foil (or plain baking sheet) with non-stick spray and place acorn squash cut-side down on tray (lightly salt cut side of squash first). Prick skin with the point of a sharp knife a few times to allow steam to escape while squash cooks.

Place squash into preheated oven and pour about a cup of water around them. Bake for about 20 minutes, or until a knife inserted into the biggest squash can go all the way through (you're not looking for mush, but you do want them to be soft).

While squash bakes, combine the filling ingredients in a large bowl and mix well with your (clean!) hands. When squash is done, carefully remove tray from oven and transfer squash to heat-safe surface with tongs (don't forget there's hot water in the bottom of the tray!). Evenly distribute filling among squash, packing it firmly in the scooped-out seed cavity. Return to the oven on the top rack and bake until golden brown.

Serve warm with a drizzle of balsamic vinegar (if desired), some sweet potato biscuits, and a glass of Shiraz!
Enjoy!

*Don't throw out your squash seeds! Squash seeds like acorn, butternut, and pumpkin, are a great source of protein and fiber... try roasting them!